Customizing the Waiting Room in Zoom
The Waiting Room feature allows the host to control when a participant joins the meeting. As the meeting host, you can admit participants one by one, or hold all participants in the waiting room and admit them all at once. You can send all participants to the waiting room when joining your meeting, or you can allow participants from your Zoom account and participants with specified domains to bypass the waiting room. As the host, you can also choose to automatically move participants to the waiting room while a meeting is in progress if you lose connection from the meeting.
How to customize the Waiting Room
You can customize the Waiting Room title, logo, and description at an account, group, or user level.
- After enabling Waiting Room, click Customize Waiting Room.
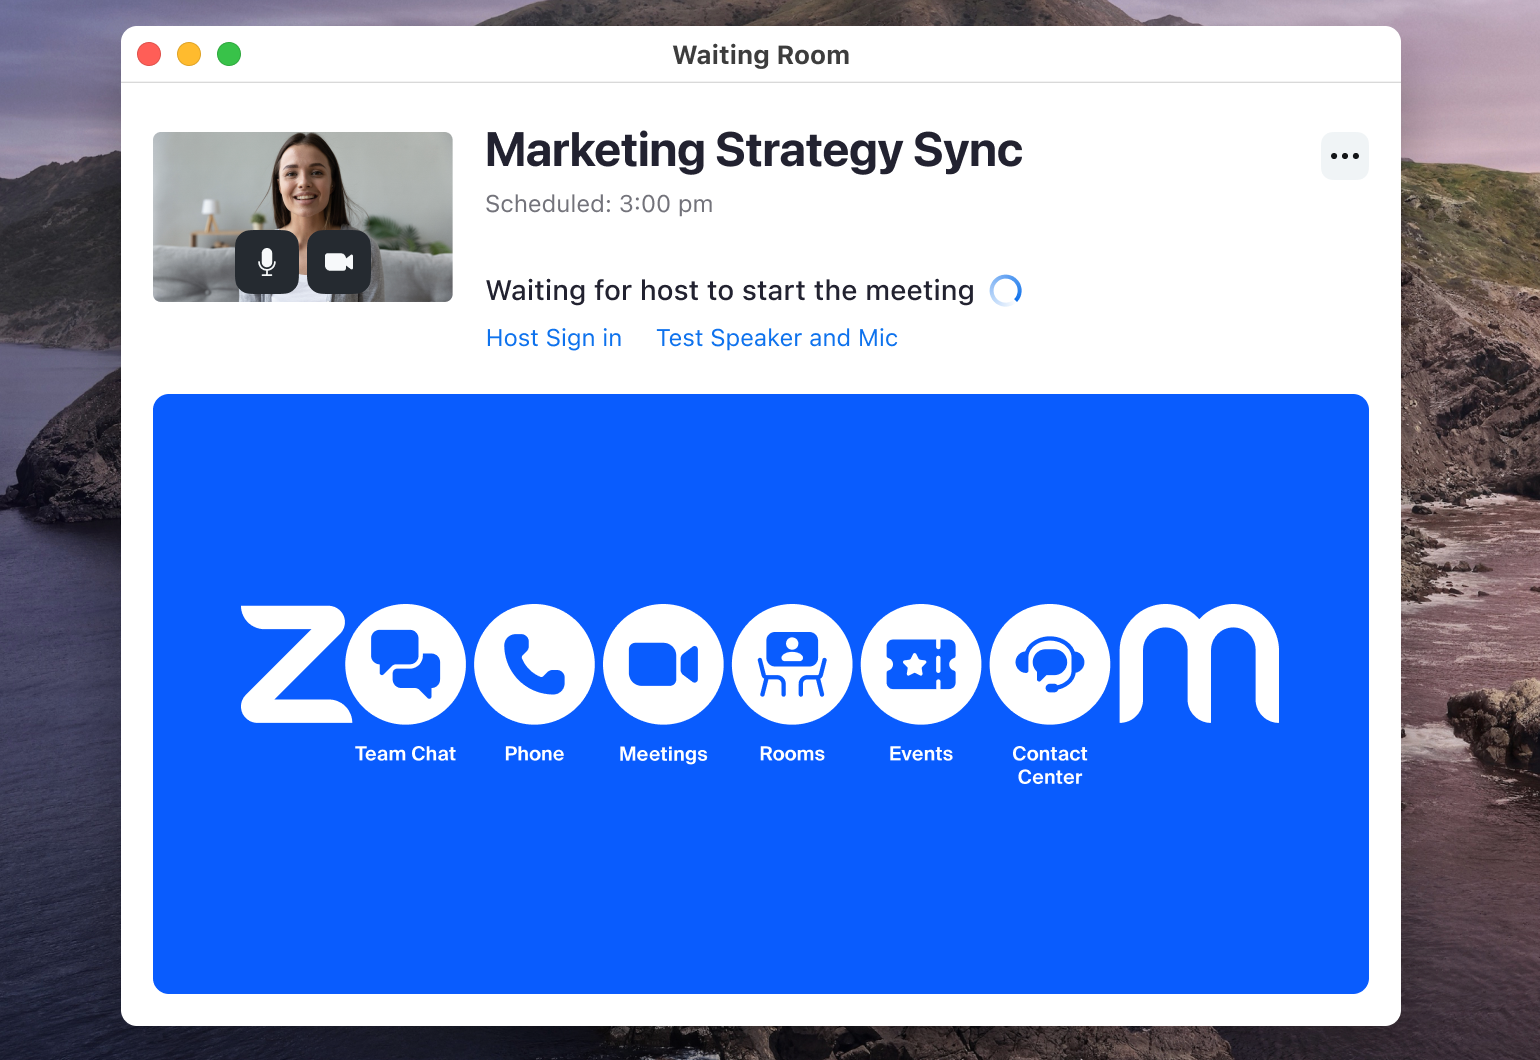
This will open the Waiting Room customization window. A preview of what the Waiting Room will appear to participants as is shown to the right and updates as changes are made.
 The following customization options are available:
- Title: Click inside the text box to update the meeting title.
Note: Titles are limited to 64 characters. - Participants in the waiting roomwill see:
- The default screen: Just displays the title text above and the meeting topic.
- A logo and description: Display the title message, a logo you upload, and a message.
- Logo: Click Upload Logo to select a file for upload. Supported logo image files are GIF, JPG, and PNG formats, and cannot exceed 1 MB. Image resolution can range from 60x60 to 400x400.
- Description: Click inside the text box to update the description. You are limited to 400 characters.
- A video: Display the title message and a video you upload.
- Video: Click Upload Video to select a file for upload. The video must be in MP4, MOV, or M4V format, and cannot exceed 30 MB. Videos can include sound, but are muted by default.
- An Image: Displays the image with the title overlaid along the top of the image. Supported image files are GIF, JPG, and PNG formats, and cannot exceed 1 MB. Image resolution can be a minimum of 400x200, and a 2:1 image ratio is recommended for any higher resolutions.
- (Optional) Click the device toggle
 to switch between desktop and mobile previews.
 - Click Save when you are done.
Participants will see your custom Waiting Room branding when they join the meeting.
Notes:
- You will need to enable Waiting Room before you have the option to customize it. If the Waiting Room has been previously customized at the user level then disabled after, when Waiting Room is enabled in a meeting's settings, the meeting will use the user-level setting until it has been reset, or the account setting has been locked.
- Customized Waiting Rooms are only visible when the meeting is scheduled with Waiting Room enabled. If enabled during a live meeting through the in-meeting security controls, participants will see the default Waiting Room.