Microsoft Booking: Creating a Booking
-
Go to Outlook.FAU.edu or Sharepoint.FAU.edu
-
Log in using your FAU account
-
In Microsoft 365, select the App launcher (the waffle menu), and then select Bookings.
-
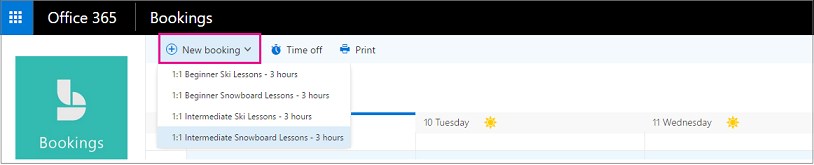
In the navigation pane, select Calendar > New booking.
-
Select the service to be provided. See Define your service offerings in Microsoft Bookings for service setup instructions.
-
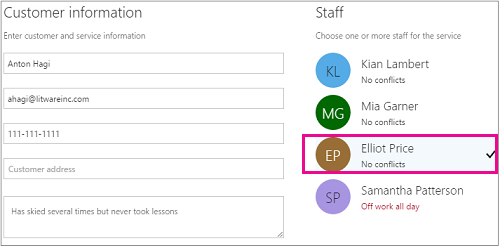
Enter the customer information, including name, email address, phone number, and other relevant details.
-
Select the staff member to provide the service. The list of staff members shown is based on what you set up on the services page.
-
Enter the service details, including date, time, location, and other relevant information. Once you enter a valid email address for the customer, you'll see a note telling you that a confirmation will be sent to the customer. The customer confirmation includes an attachment for them to add to their calendar. Selected staff members will also receive meeting invitations with the appointment information so they can add it to their personal calendars.
-
Select Add an email reminder.
-
Specify when the reminder should be sent, where it should be sent (Customer, Staff, All attendees), and what the reminder message should be.
- https://www.microsoft.com/en-us/videoplayer/embed/RE4Zd77?postJsllMsg=true
-
Select Create booking.
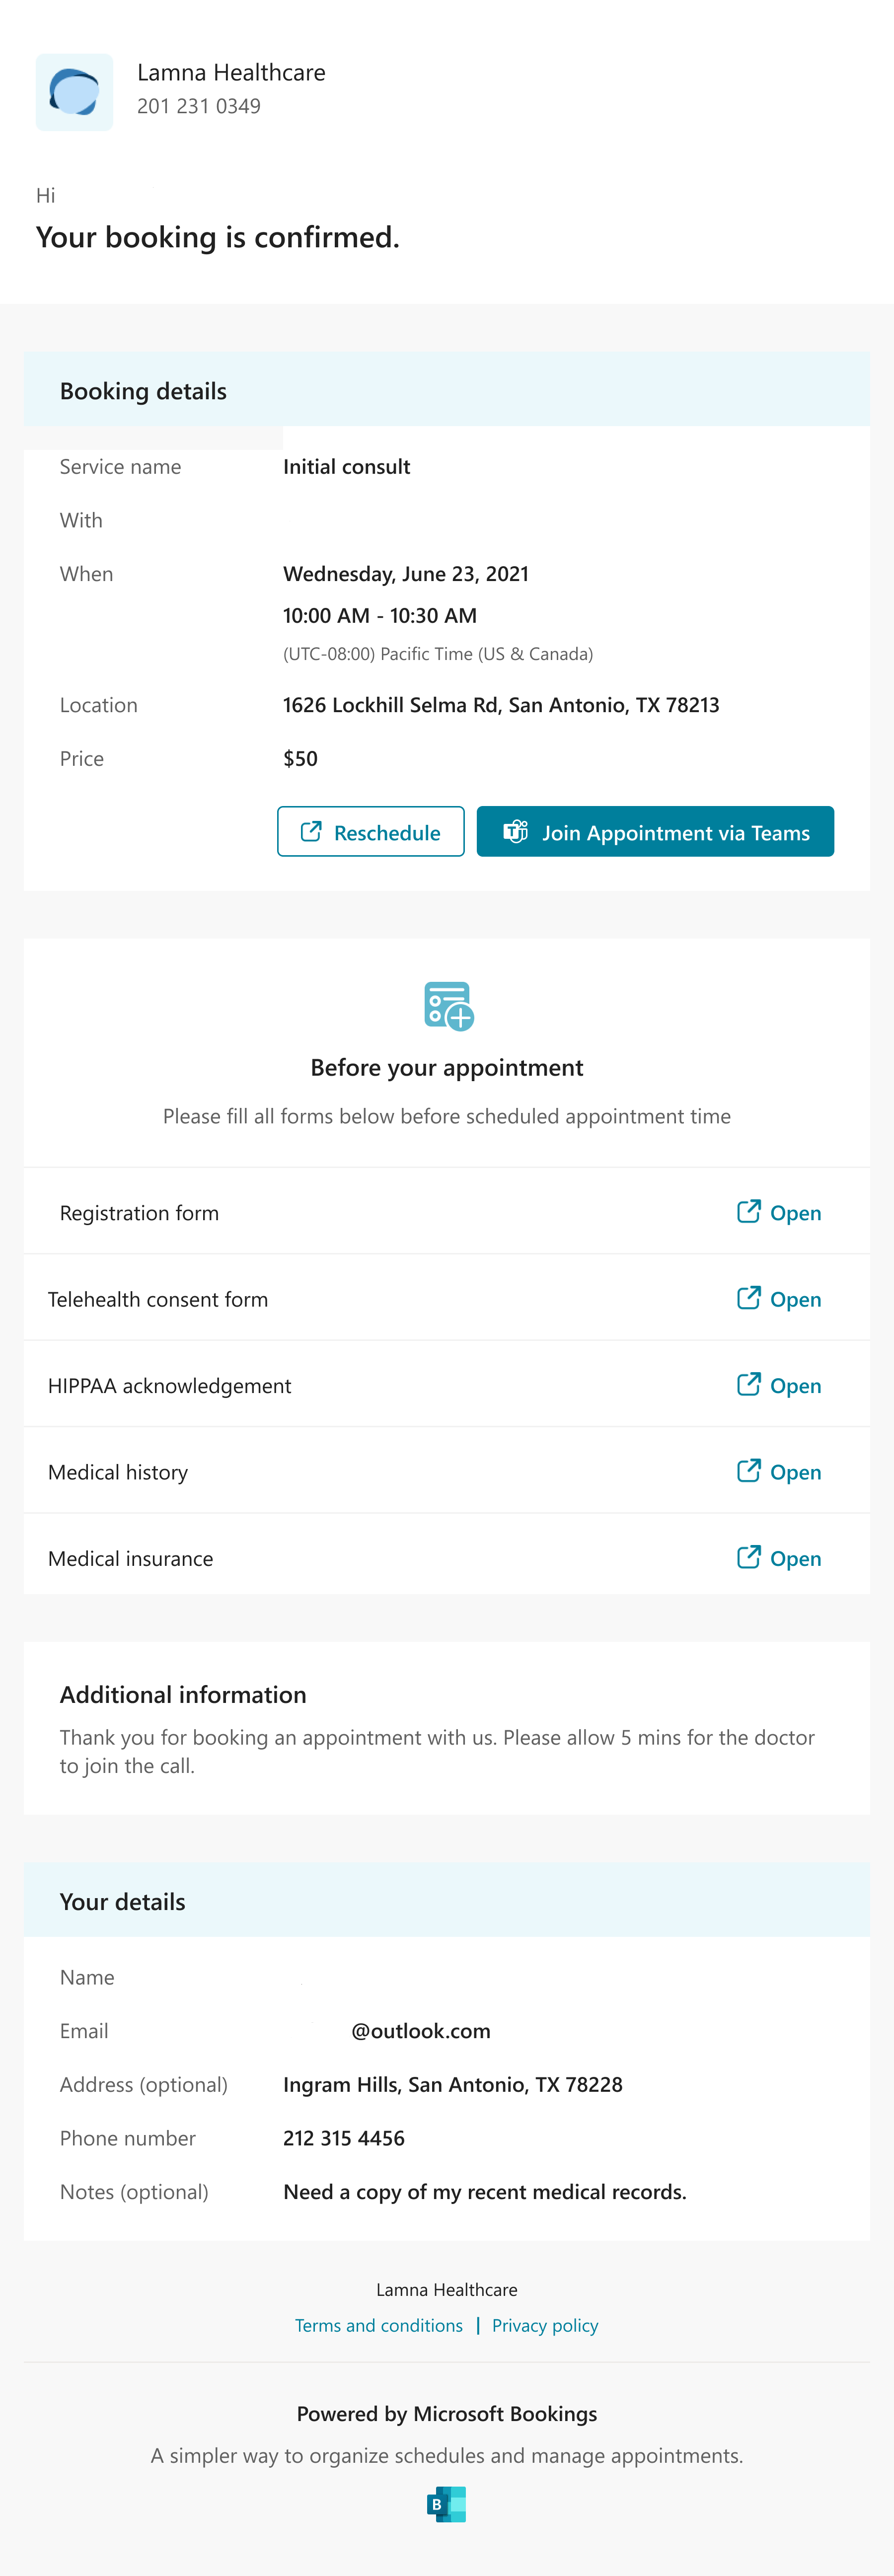
Here's an example email of the reminder your customer will receive: